If your Lodar remote has stopped responding, you've replaced a handset, or you're setting up your system for the first time, pairing is a straightforward process that takes under a minute. This guide covers the Lodar TI Standard Transmitter across 2, 4, and 6 function systems.
What You'll Need
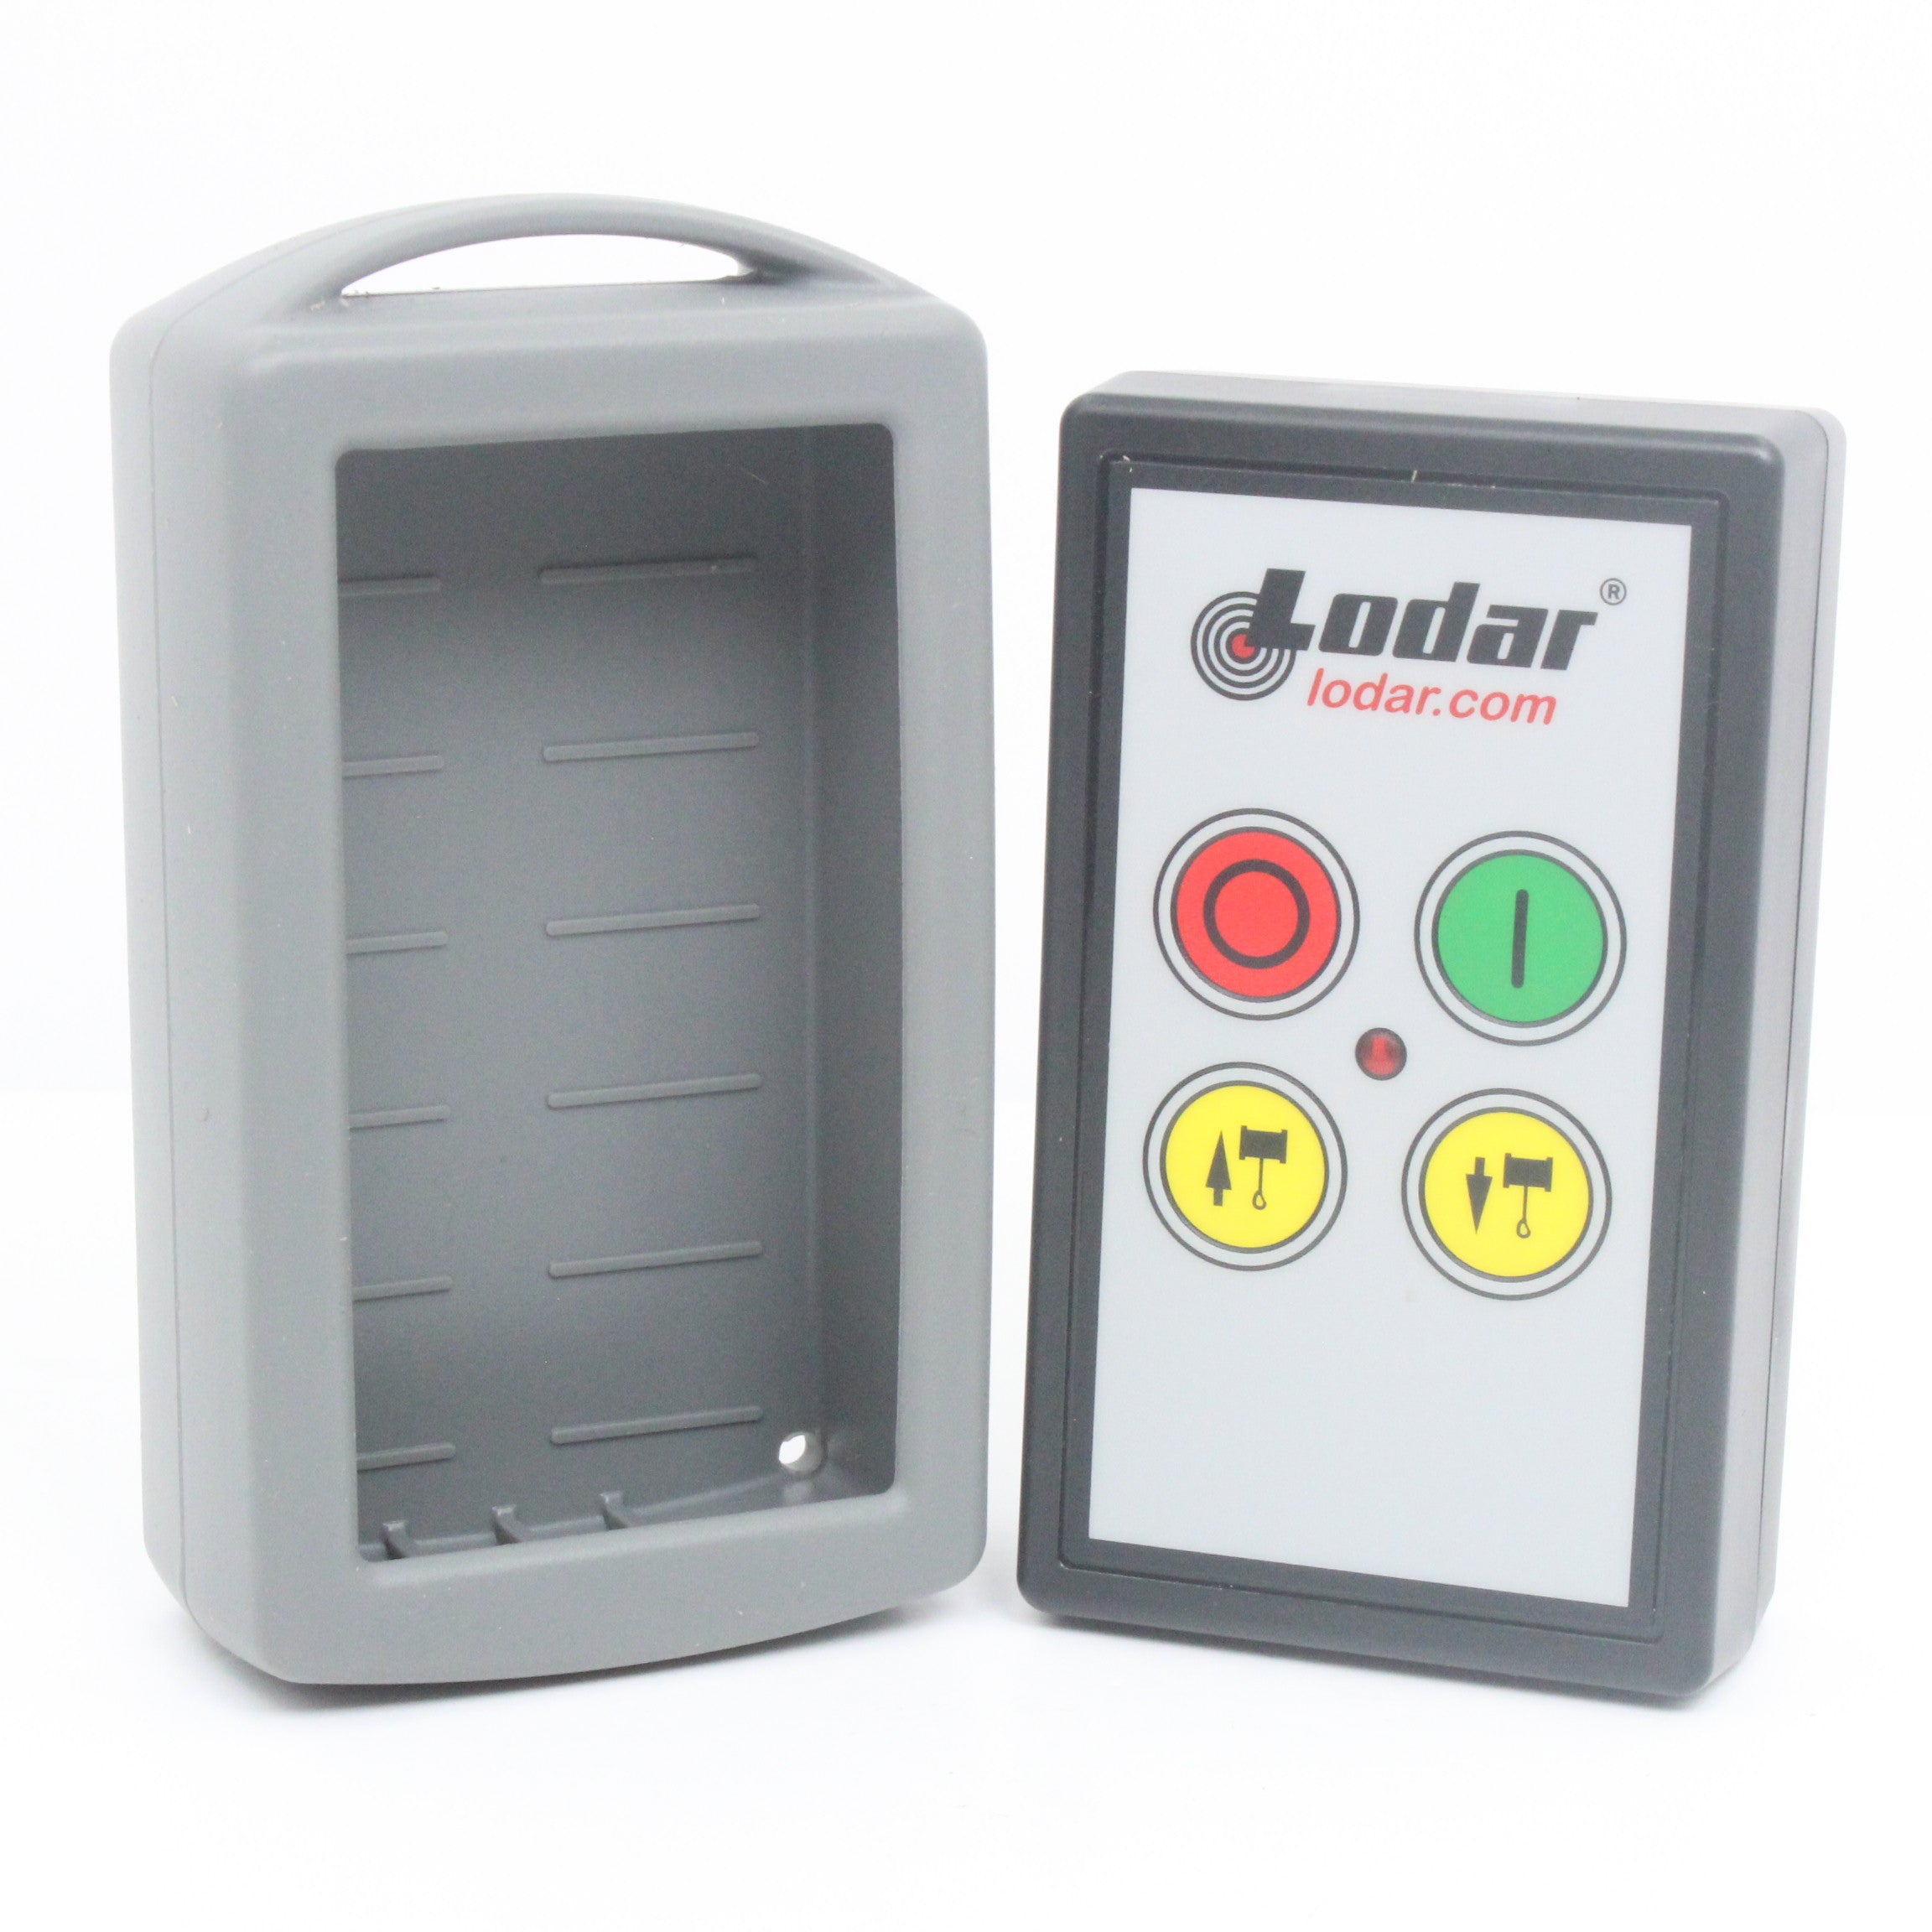
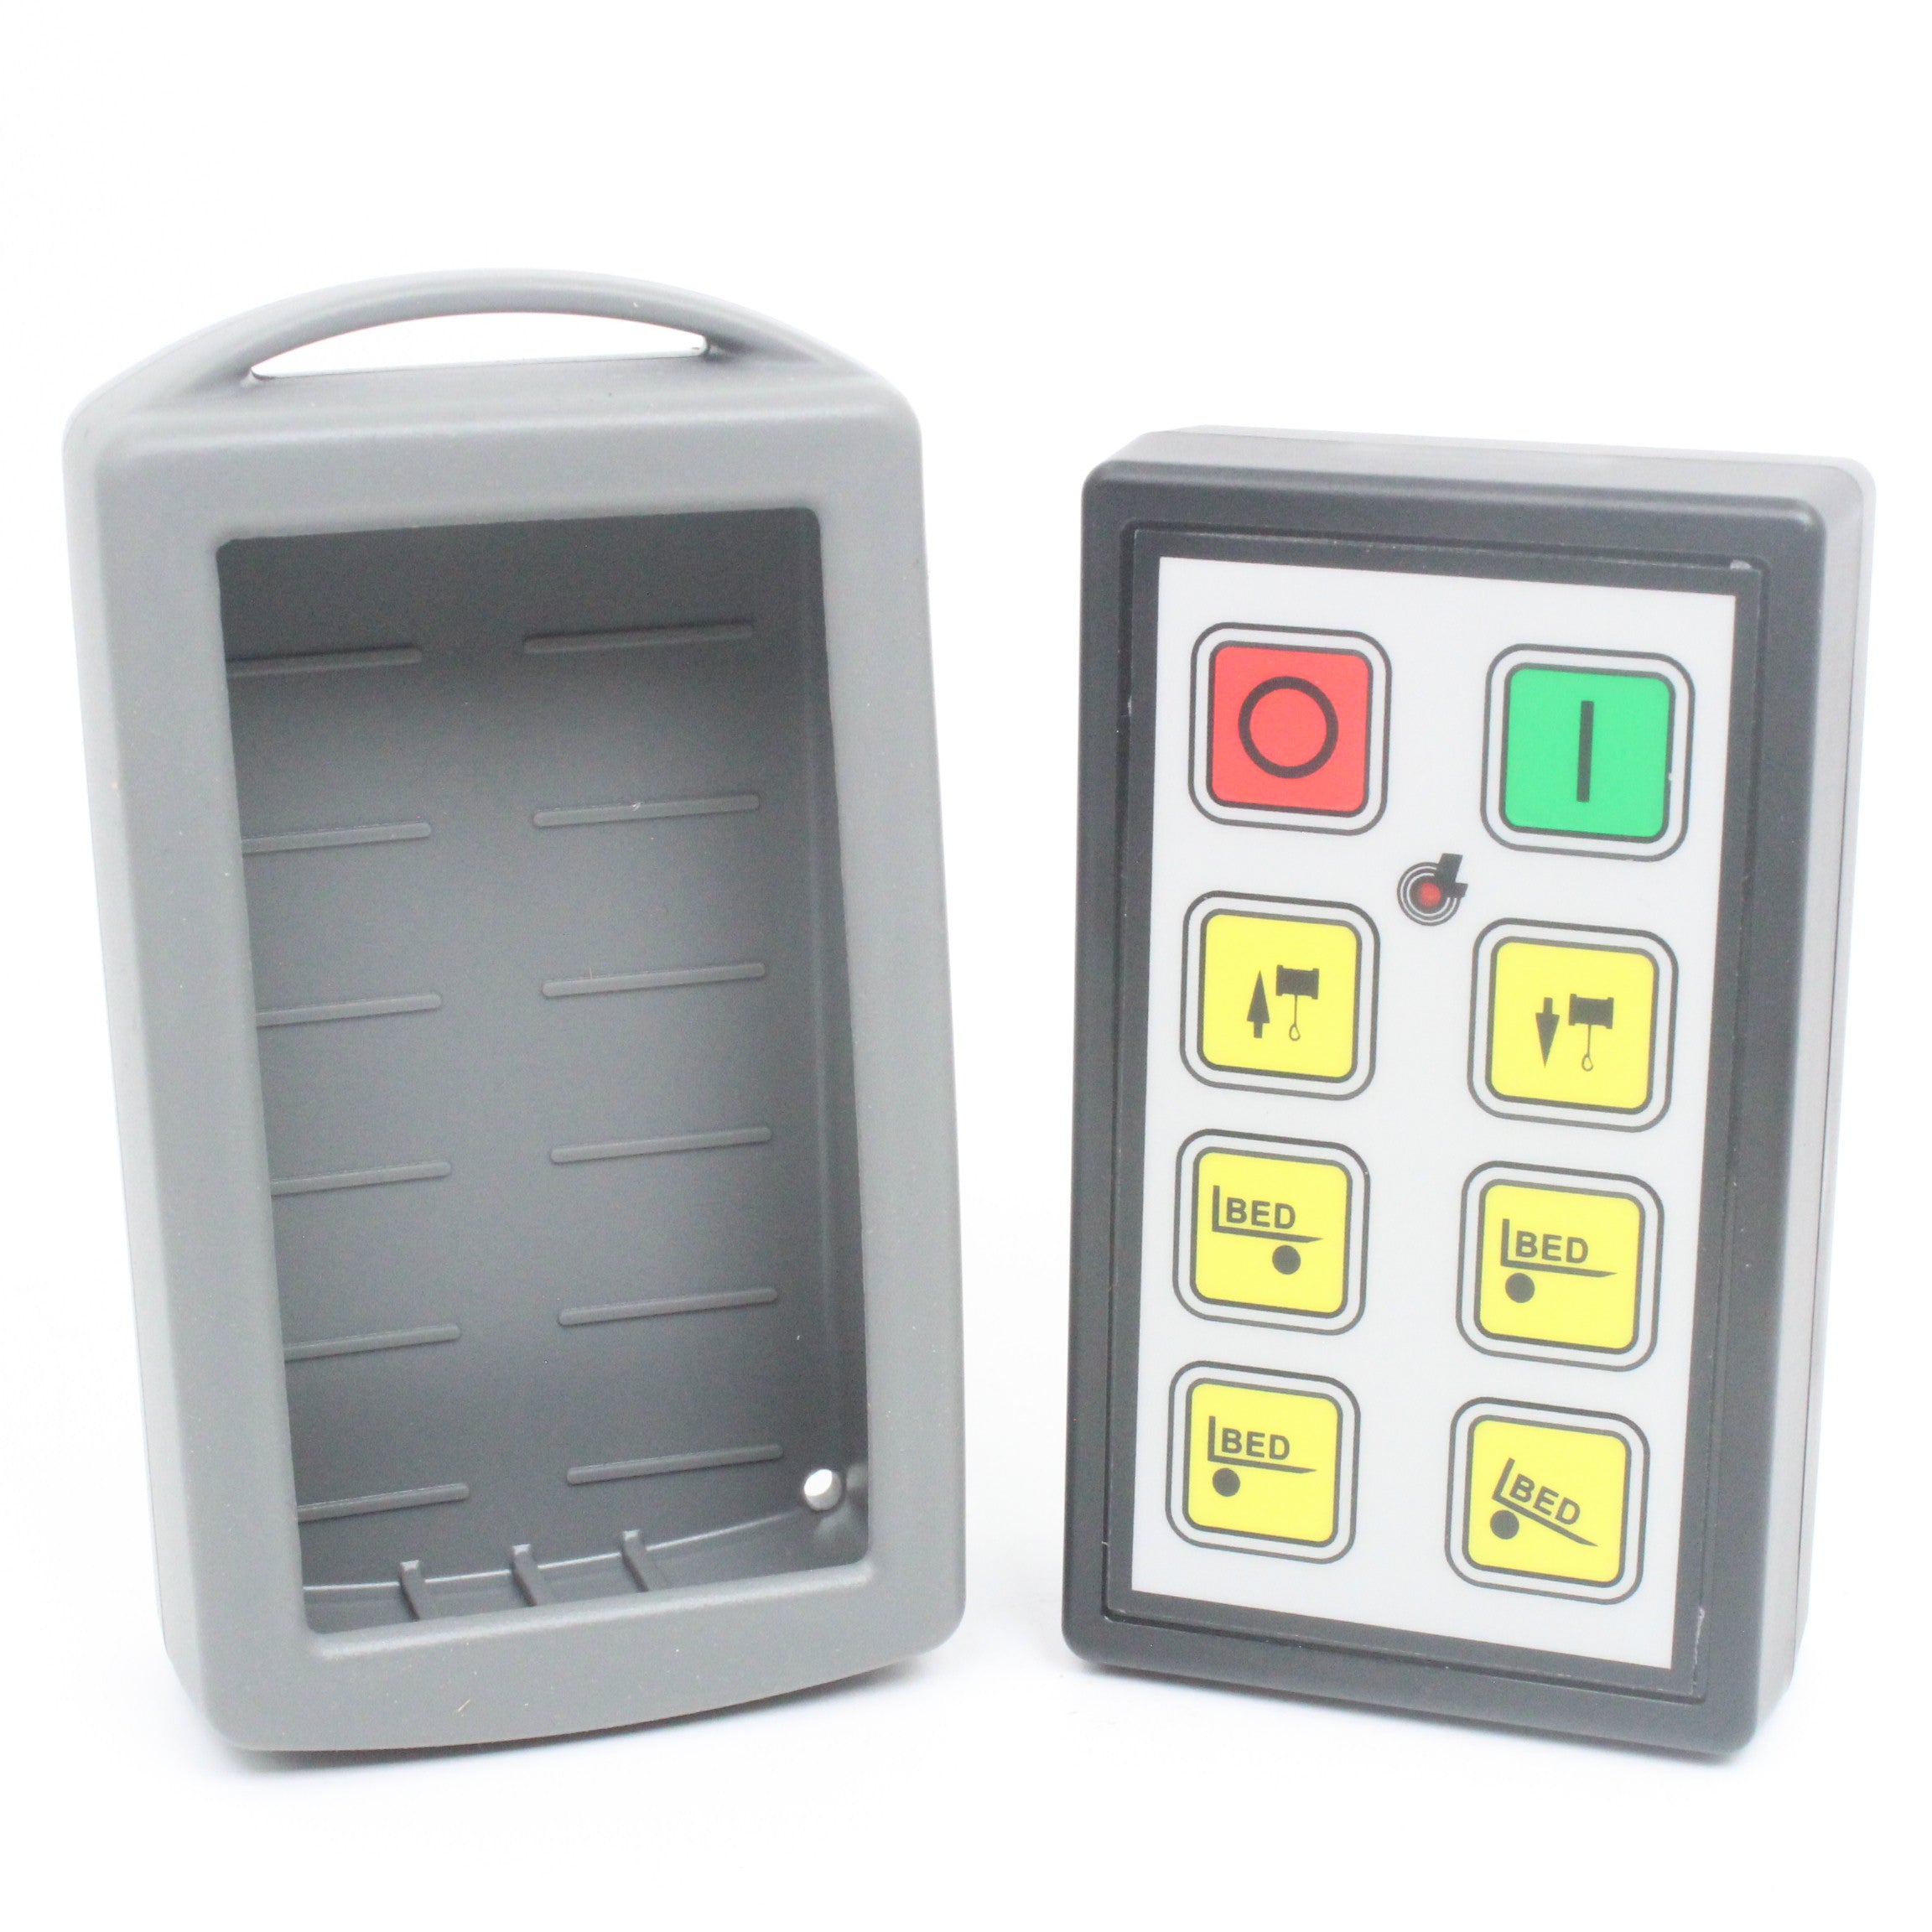
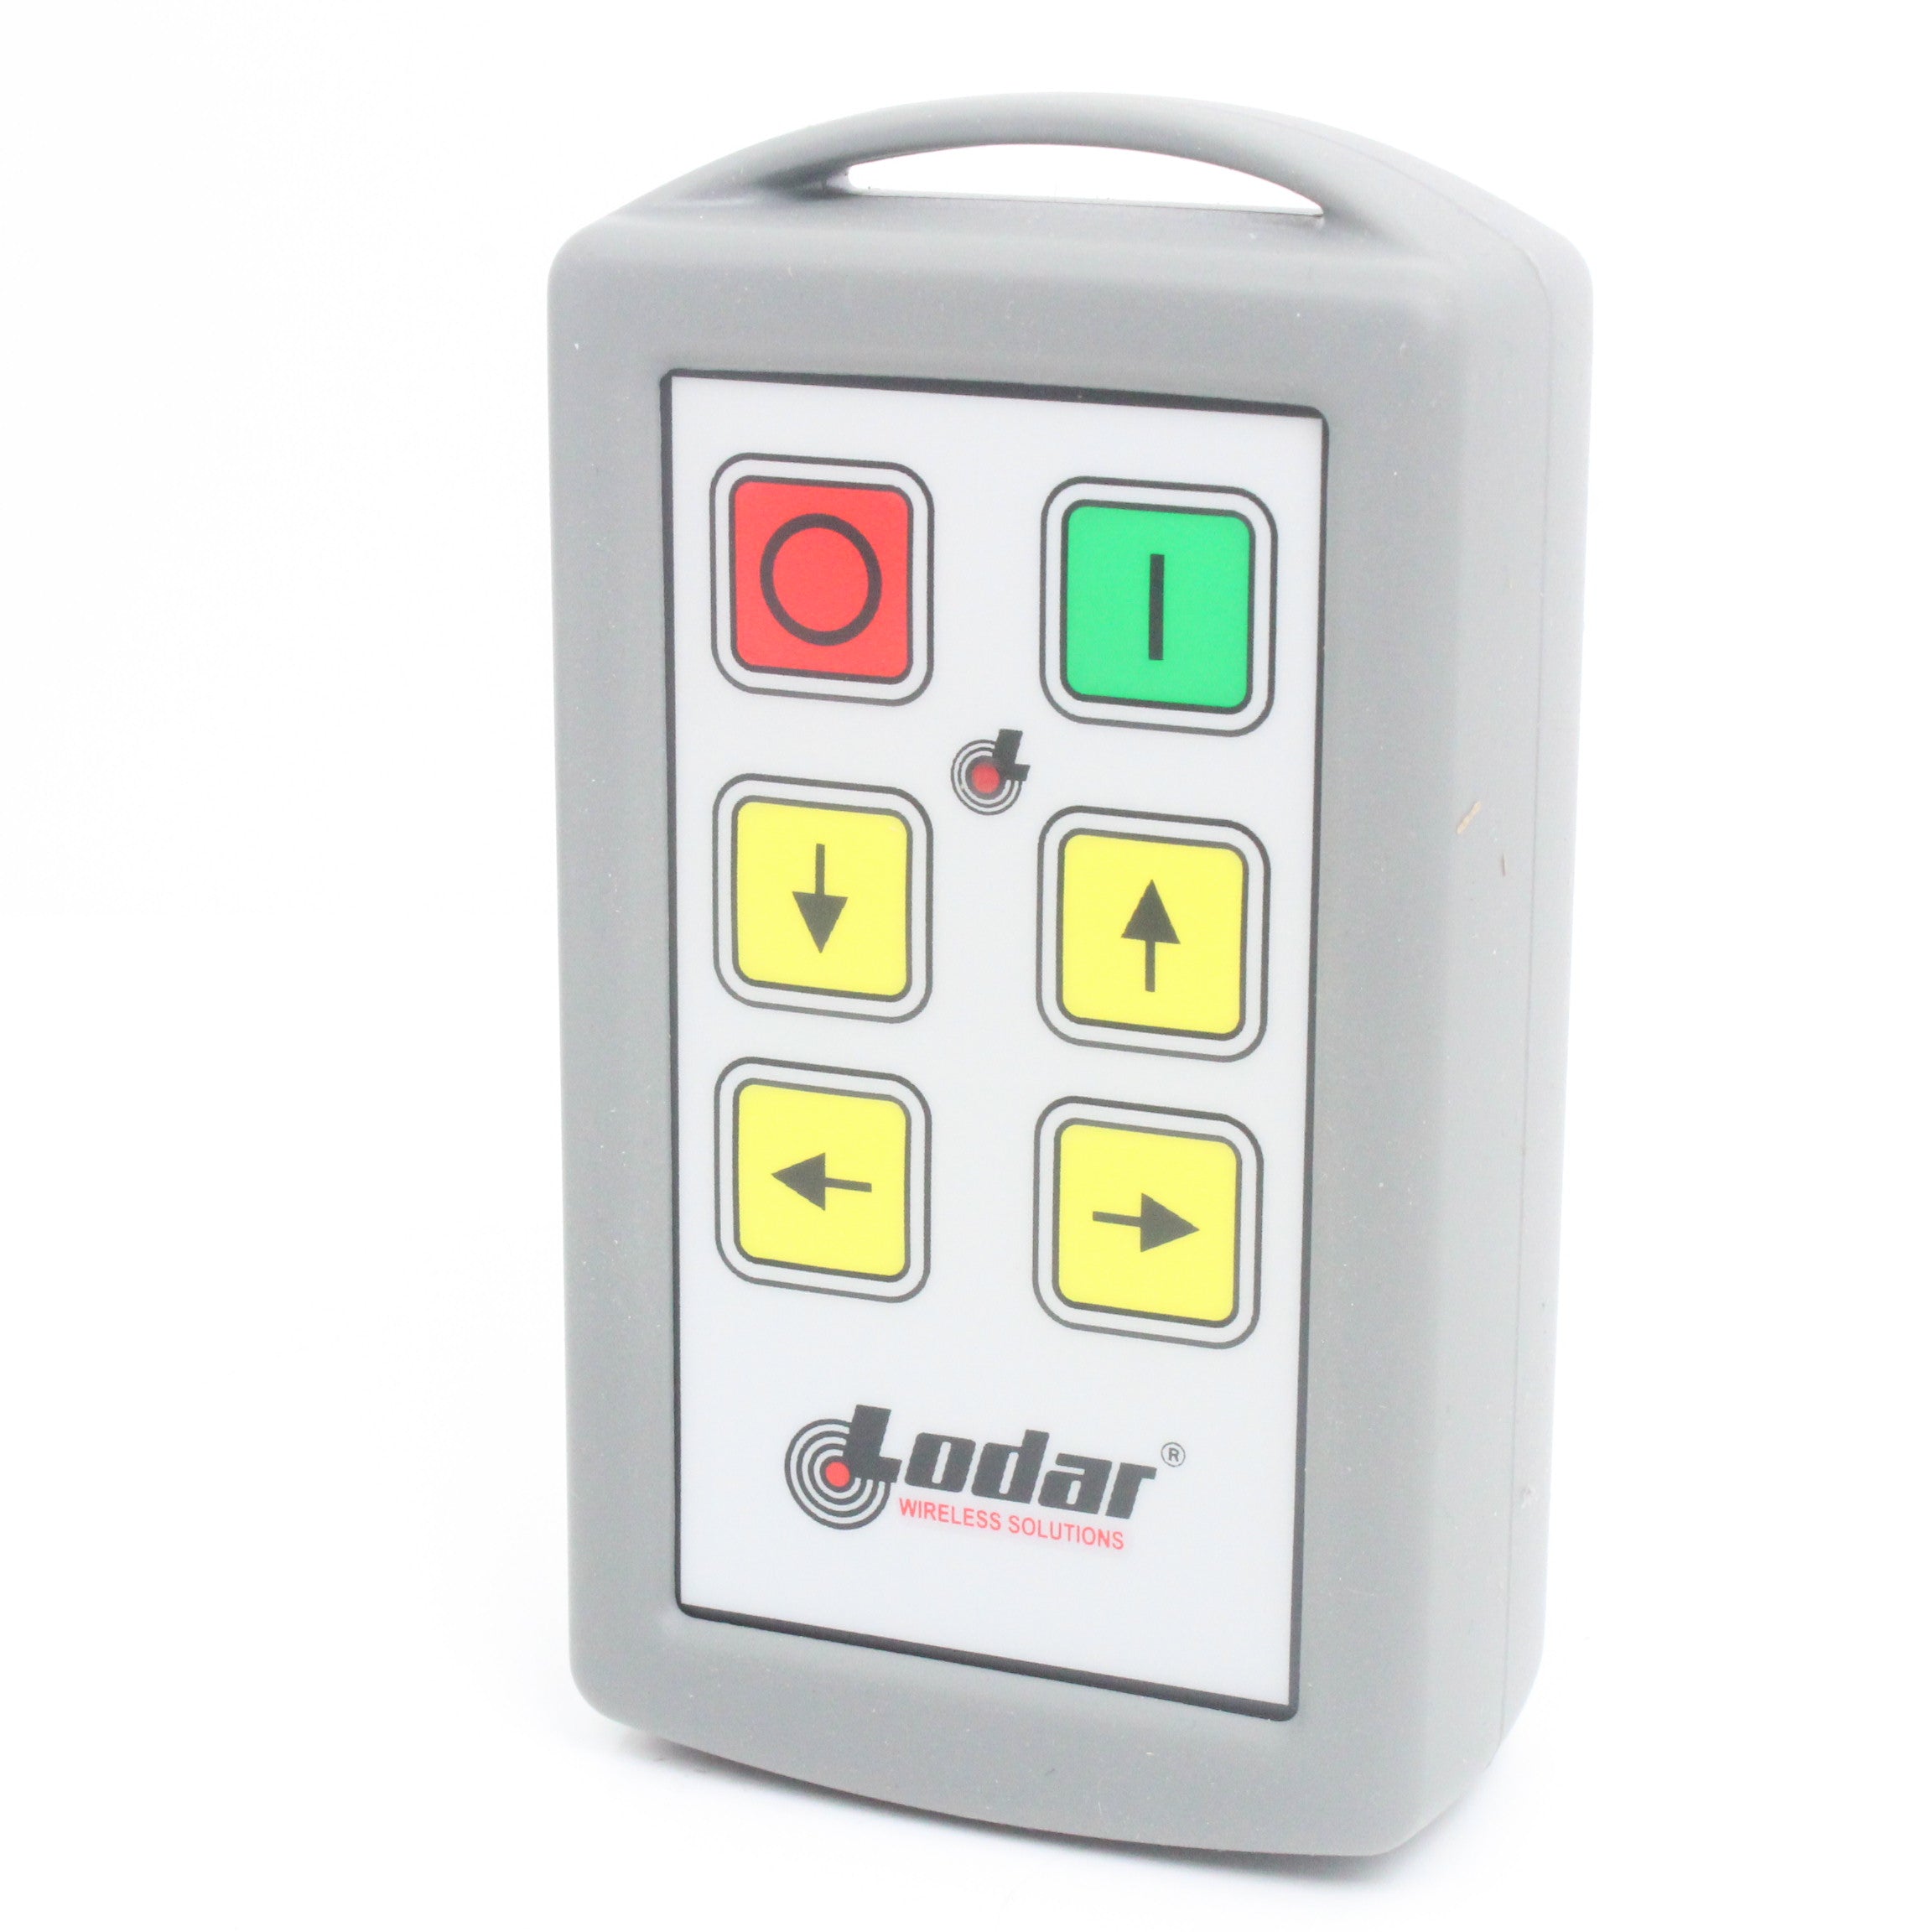
- Your Lodar transmitter (cover removed)
- Access to the receiver unit
- 2 x AAA alkaline batteries (fresh ones — weak batteries are the most common cause of pairing failure)
- A paperclip or small tool (optional, for some receiver models)
Step 1: Reset the Transmitter
Start with the receiver powered off.
With the receiver disconnected, briefly press the red STOP button on the transmitter. This clears any previously stored receiver memory from the handset and ensures you're starting fresh.
Step 2: Enter Registration Mode
Press and hold both the red STOP button and the green SET button simultaneously for approximately 5 seconds.
The LED on the transmitter will begin flashing in an alternating pattern — this confirms the handset is in registration mode and ready to pair.
Step 3: Assign a Memory Slot (Dual Transmitter Systems Only)
If you're running two transmitters on the same receiver, you'll need to assign each to a different memory slot to avoid conflicts.
- Press the green SET button to move up through the available slots
- Press the red STOP button to move down
Single transmitter systems can skip this step entirely.
Step 4: Complete the Pairing
Restore power to the receiver. Within 10 seconds, press and hold the green SET button on the transmitter for 5 seconds.
Watch the receiver's STATUS LED — when it switches from flashing to a solid light, pairing is complete. Your Lodar remote is now registered to the receiver and ready to use.
Troubleshooting
Remote not pairing? Work through these checks in order:
- Battery condition — Replace with fresh AAA alkaline batteries. Low batteries are the single most common cause of pairing failure and are easily overlooked.
- Button hold duration — The 5-second hold in Steps 2 and 4 needs to be precise. Count it out — too short and the receiver won't register.
- Timing — You have a 10-second window after powering the receiver to begin the pairing sequence. If you miss it, power cycle the receiver and try again.
- Receiver memory full — If the receiver has stored the maximum number of transmitters, you'll need to clear its memory before a new handset can be added. Consult your receiver manual for the memory clear procedure.
30-minute auto-shutdown — Worth knowing: Lodar remotes automatically send a STOP signal and power down after 30 minutes of inactivity. This is a safety feature, not a fault. Simply power the handset back on to resume operation.
Need a Replacement Lodar Handset?
If your handset has been damaged, lost, or is simply not pairing after following the steps above, a replacement transmitter is likely the answer. As an approved UK Lodar stockist, we carry the full range:
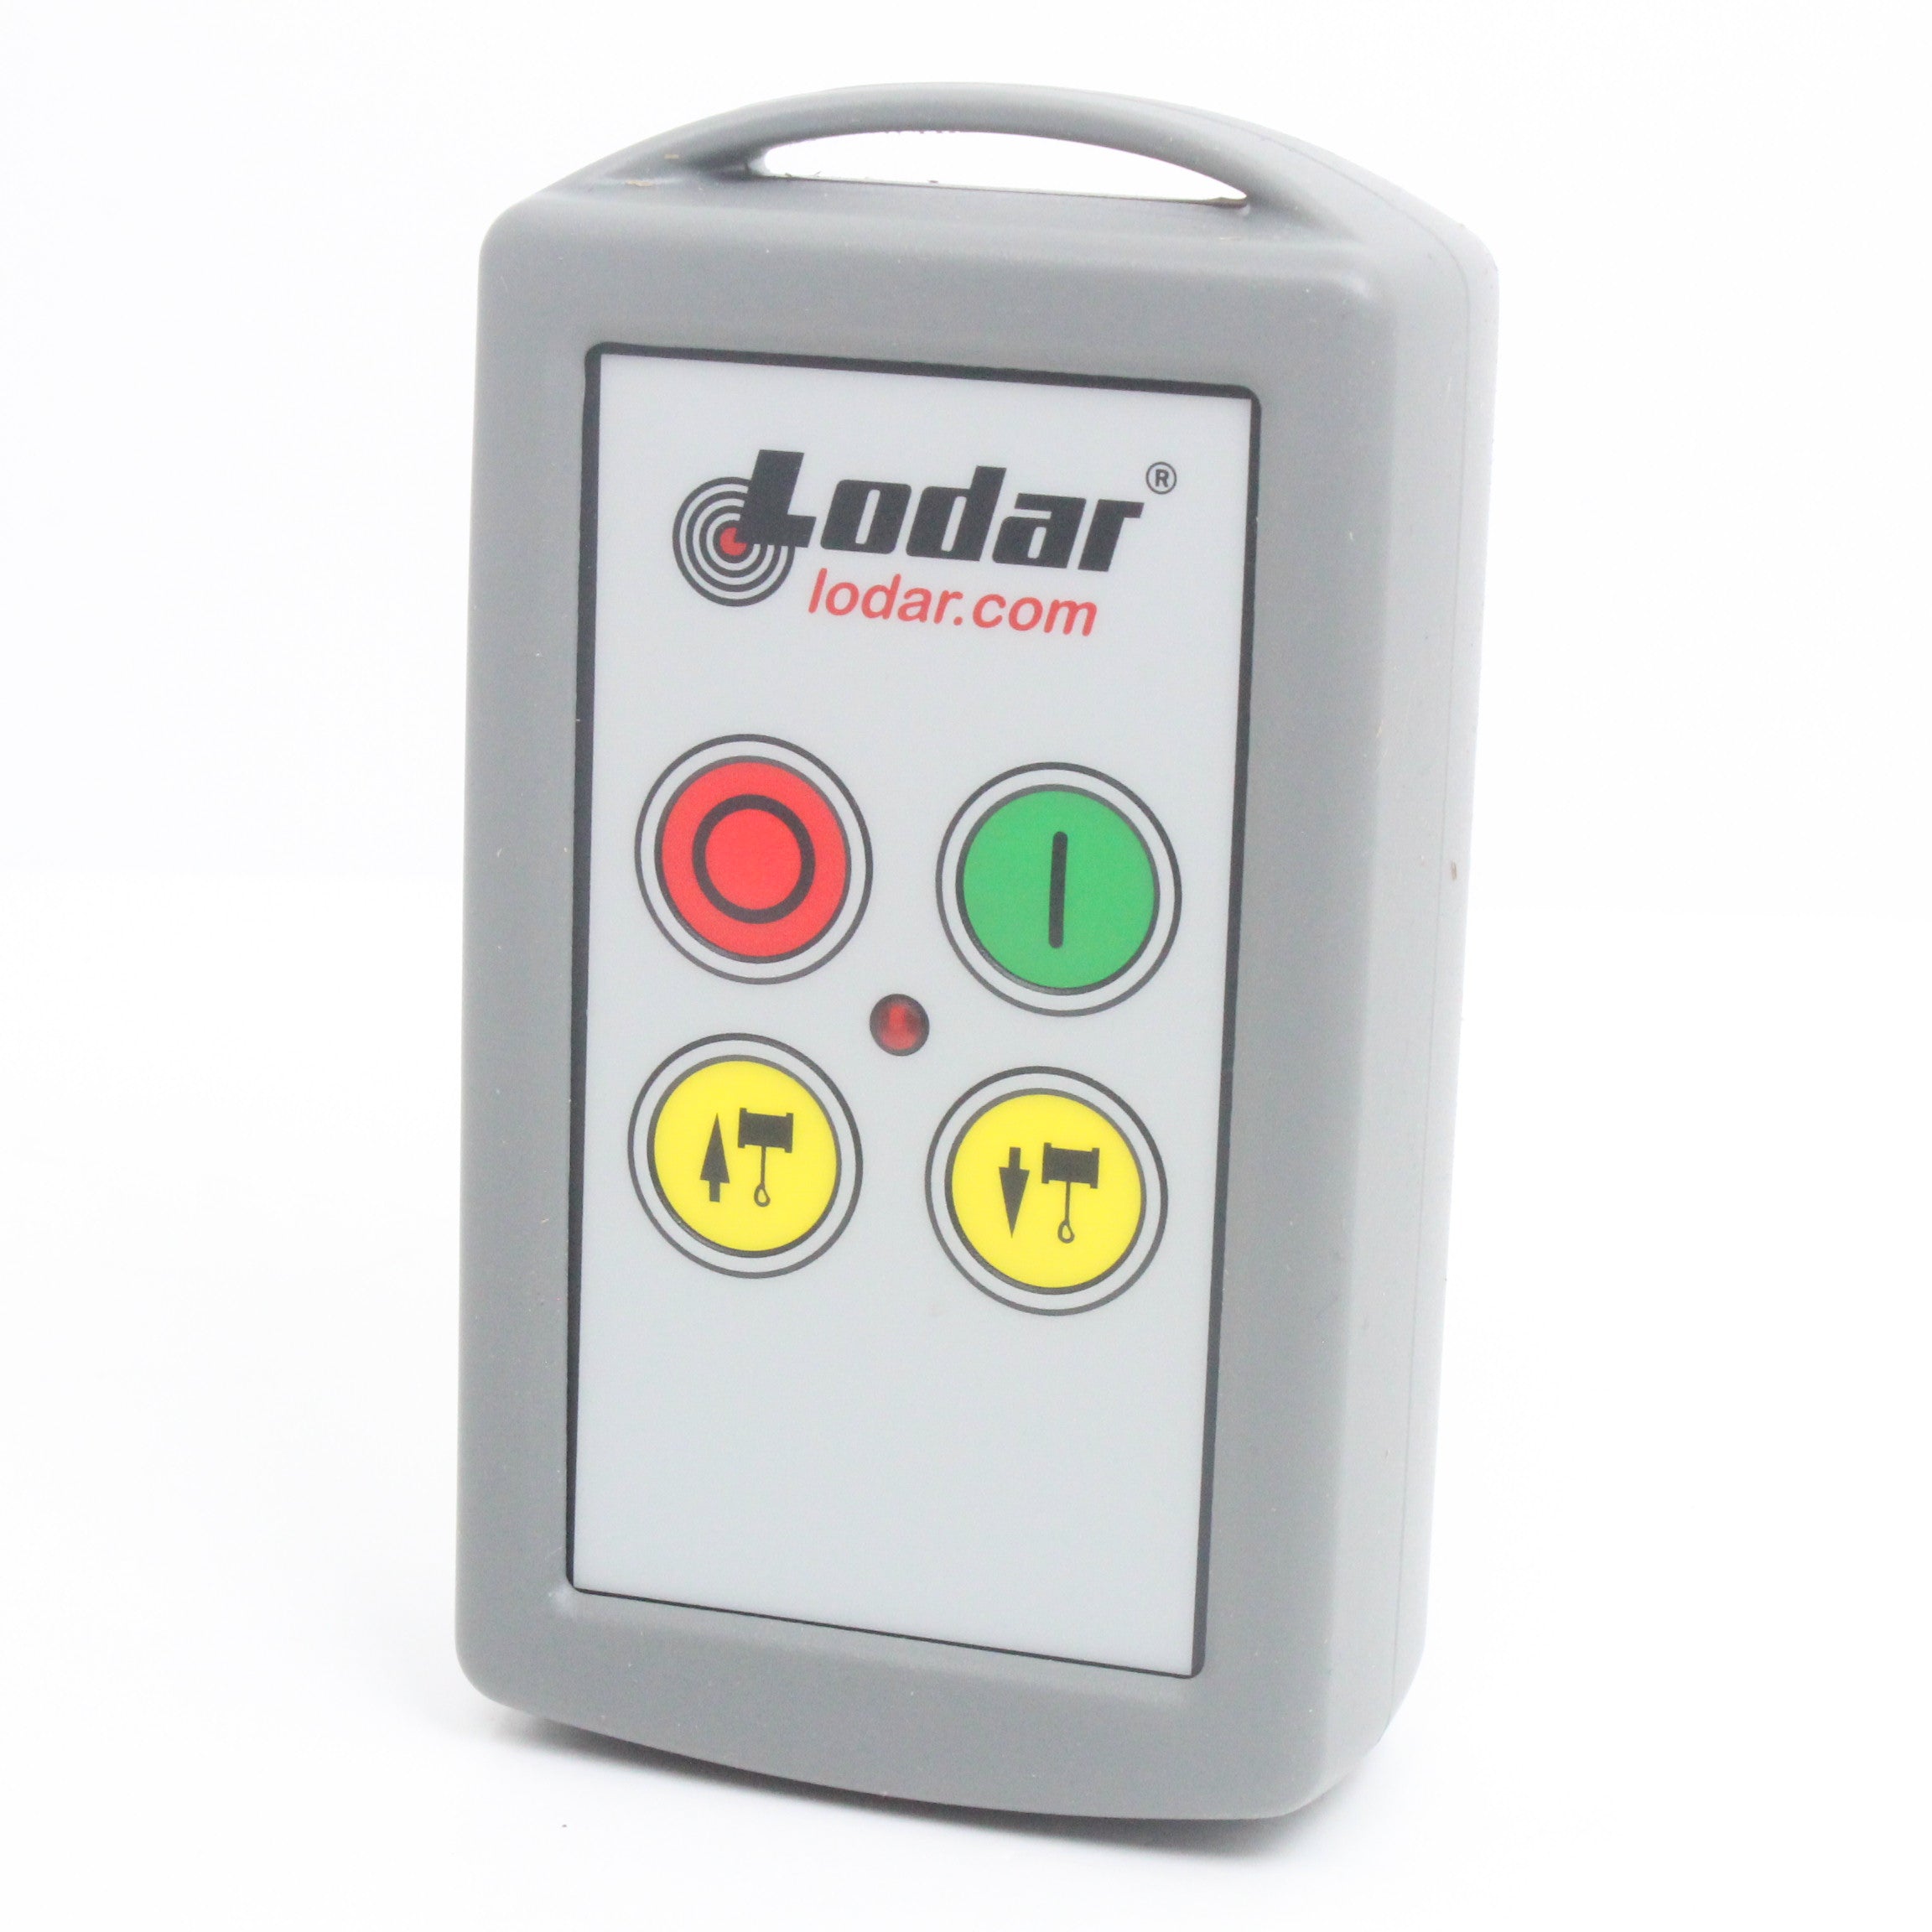
- Lodar 92102TX-3 — 2 Function Replacement Handset (Arrows) — Drop-in replacement for standard 2 function systems with up/down arrow controls
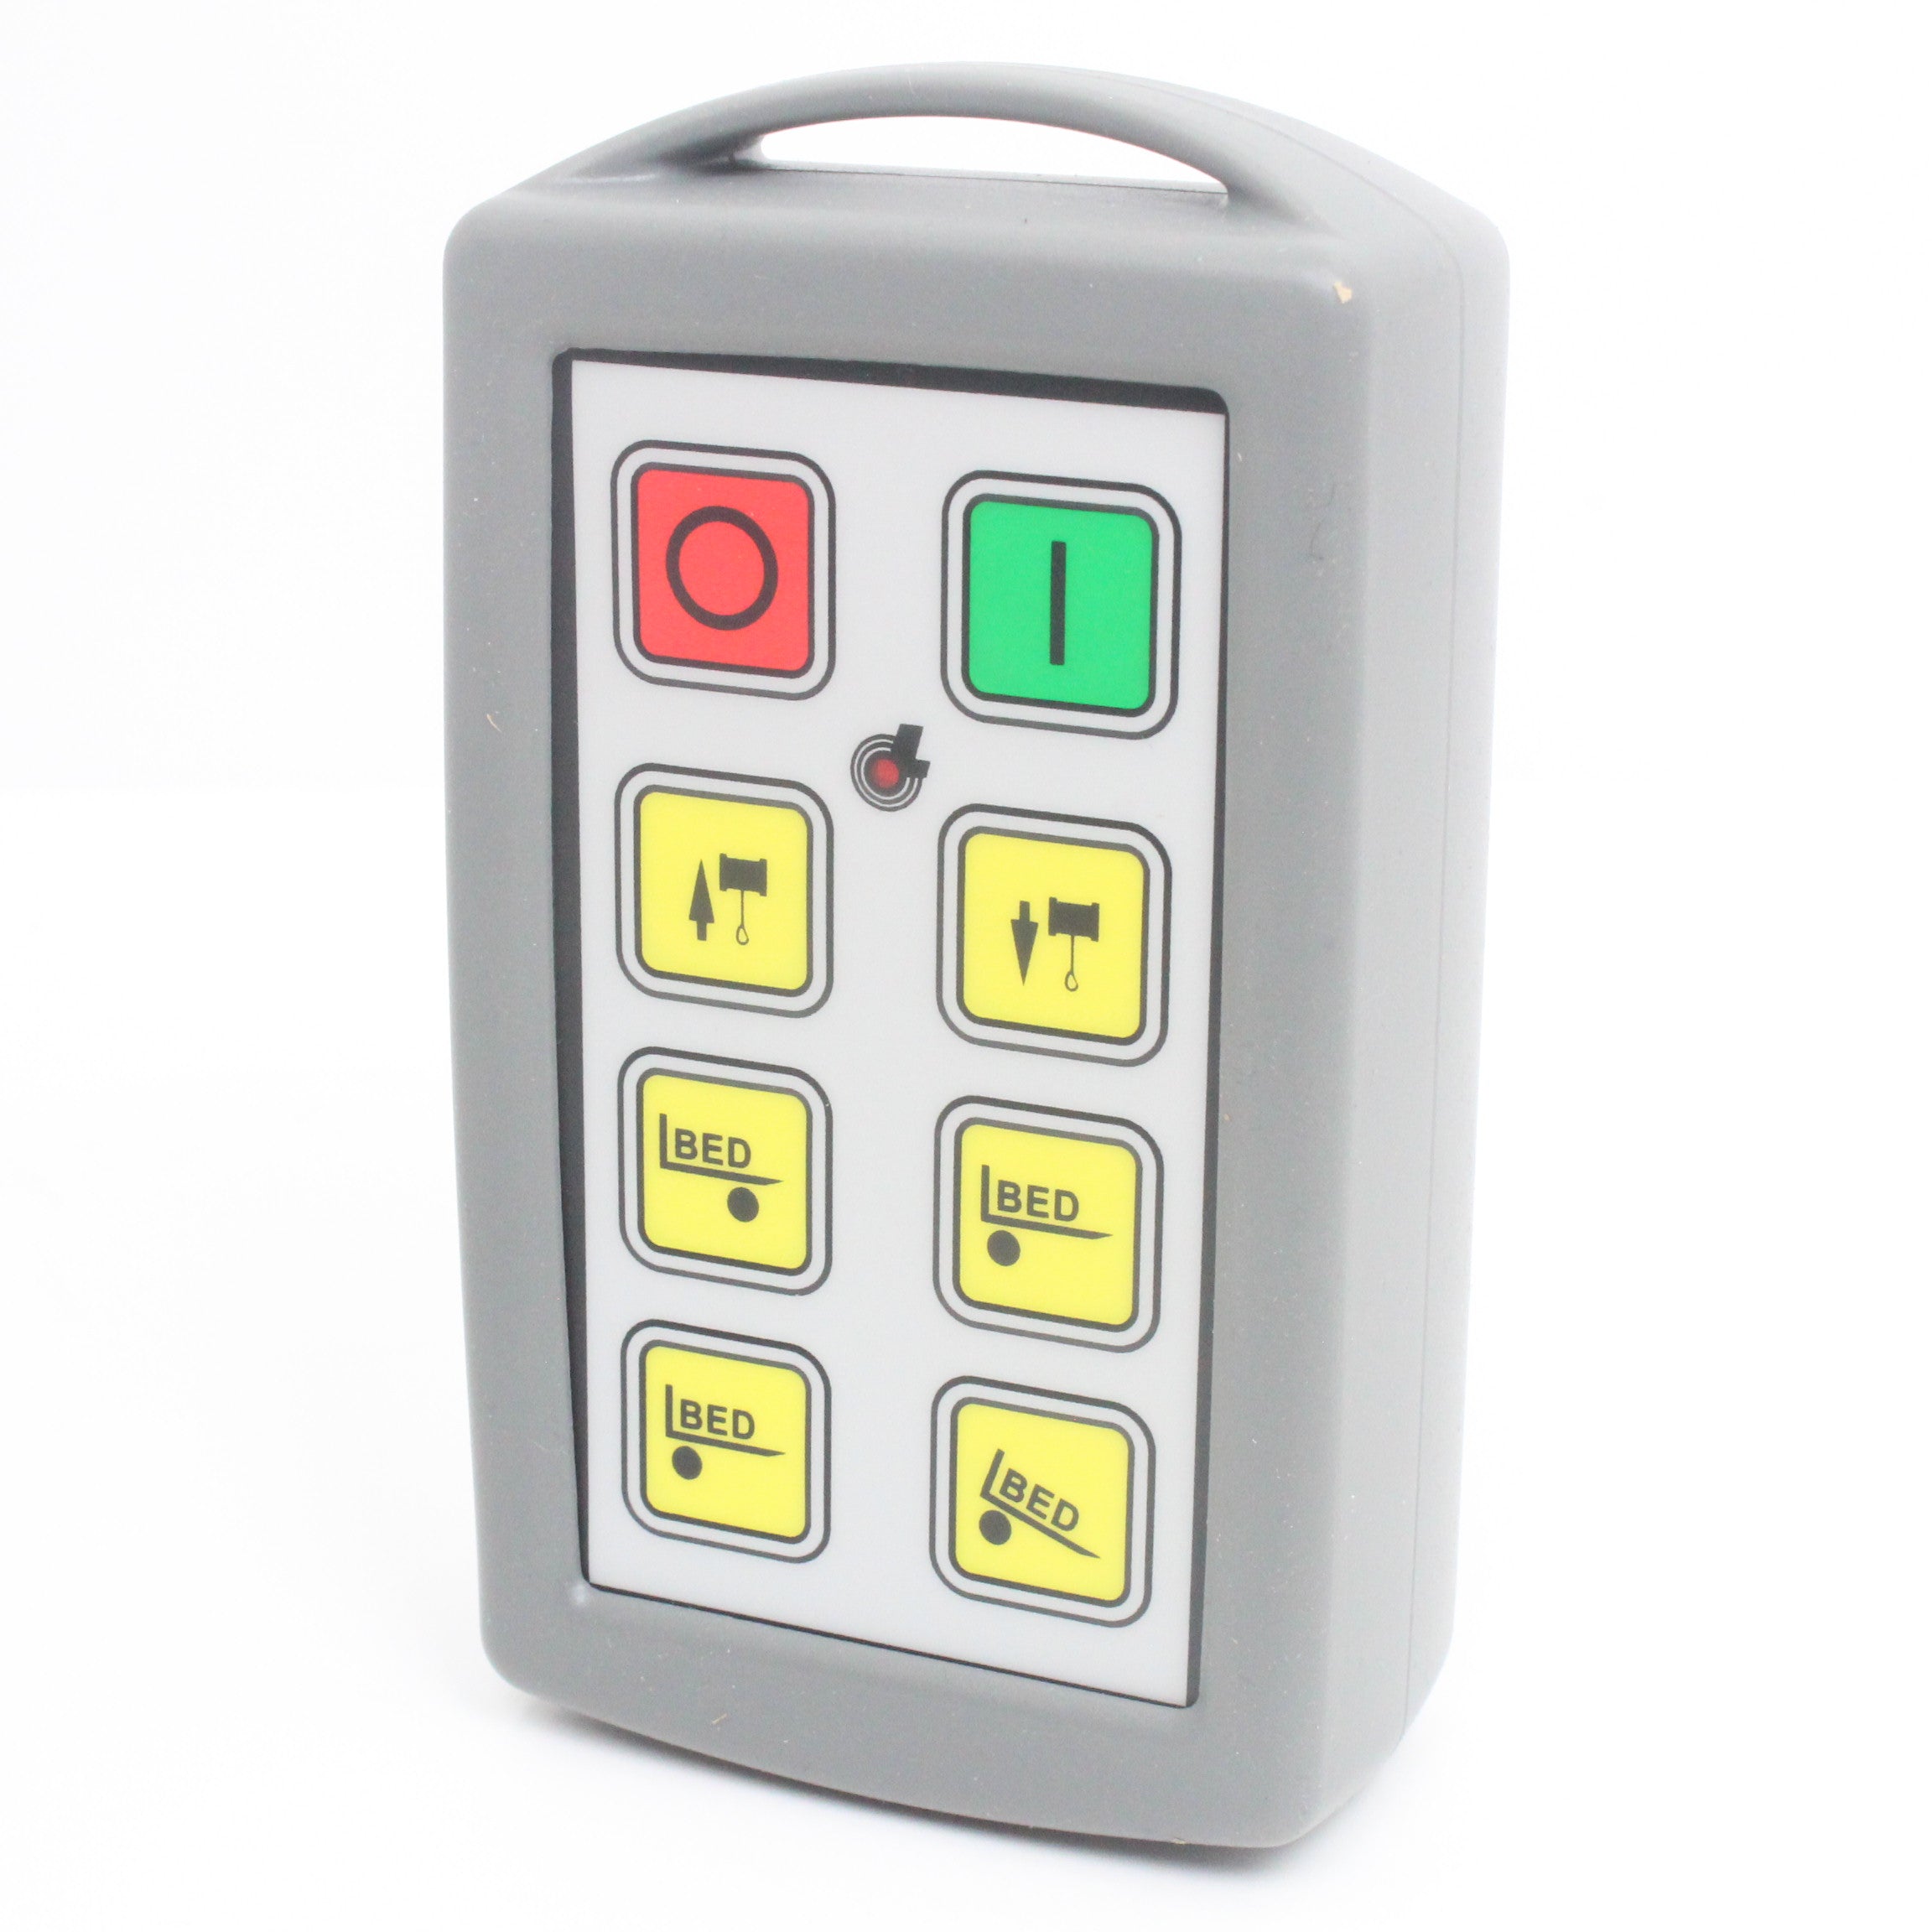
- Lodar 92104TX-3 — 4 Function Replacement Handset — For 4 function systems with up/down/left/right control
- Lodar 92106TX-3 — 6 Function Replacement Handset — For winch/bed 6 function systems
Not sure which handset you need? Check the model number on your receiver — it'll tell you exactly which transmitter is compatible.
Starting from scratch? We also stock complete Lodar kits including receiver and handset: